

After a home renovation, start by opening windows and running fans to clear contaminated air before touching anything. Replace your HVAC filter and run a HEPA air purifier for at least 24 hours. Always clean top-to-bottom, starting with ceilings and working down to floors. Use a shop vacuum with a HEPA filter, and don’t forget to sanitize kitchens, bathrooms, and adjacent rooms thoroughly. There’s plenty more pro-level detail ahead to help you tackle every last dusty corner.
Key Takeaways
Improve air quality first by opening windows, running box fans, and using a HEPA air purifier for at least 24 hours.
Use a heavy-duty shop vacuum with a HEPA filter to safely collect fine construction dust without recirculating particles.
Always clean top-to-bottom, starting from ceilings and fans before tackling walls, countertops, and floors.
Clean HVAC vents, registers, and duct openings to prevent construction debris from spreading throughout your home.
Finish with a flashlight walkthrough, addressing overlooked spots like light fixtures, window tracks, and cabinet tops.
Start With Air Quality Before You Clean Anything
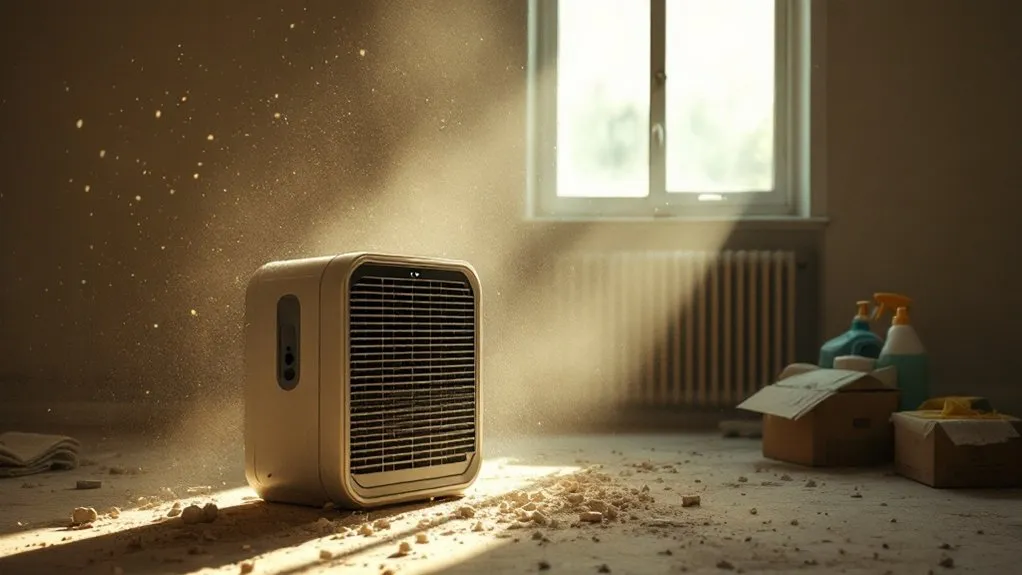
Before you grab a mop or dust cloth, you need to tackle the air first. Renovation work releases fine dust, VOCs, and chemical particles that settle slowly.
Open every window and run box fans facing outward to push contaminated air outside. Replace your HVAC filter immediately — it’s likely clogged with construction debris.
Run an air purifier with a HEPA filter for at least 24 hours before cleaning surfaces. If you skip this step, you’ll just redistribute airborne particles as you clean.
Clearing the air first makes every subsequent cleaning task more effective and protects your respiratory health throughout the process.
Gather the Right Post-Renovation Cleaning Tools First
Post-renovation cleaning demands 7 specific tools that differ from your standard household cleaning kit.
You’ll need a heavy-duty shop vacuum with a HEPA filter, microfiber cloths, a stiff-bristle brush, a plastic scraper, a pump sprayer, a grout brush, and disposable gloves.
Don’t substitute your regular vacuum—construction dust clogs standard filters instantly.
Keep your microfiber cloths separate from your everyday cleaning supplies, since renovation debris ruins them quickly.
Stage all your tools near your entry point before starting.
Having everything accessible prevents cross-contamination between rooms and stops you from tracking fine dust into already-cleaned spaces.
Tackle Construction Dust From Top to Bottom
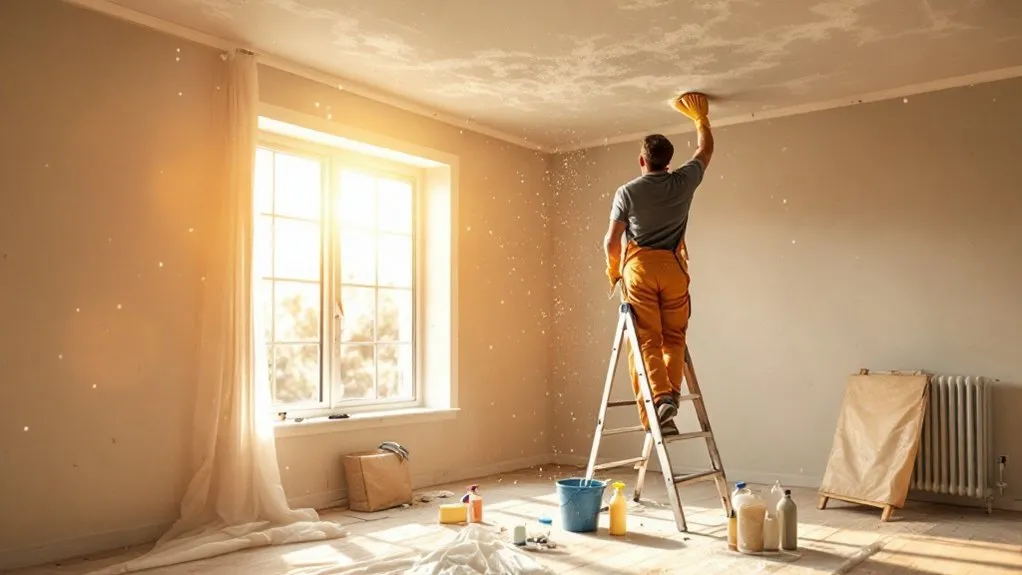
Construction dust settles in layers, so you’ll want to start at the ceiling and work your way down to the floor. Use a microfiber duster on crown molding, light fixtures, and ceiling fans first. Then wipe walls, window sills, and countertops before tackling floors last.
Always vacuum before mopping—pushing wet dirt around just spreads construction residue deeper into grout and flooring seams.
Clean HVAC Vents and Registers After Renovation
Once you’ve cleared the visible dust from surfaces, don’t overlook your HVAC system—it’s been pulling air through your home the entire time workers were cutting, sanding, and drilling.
Construction particles clog registers and contaminate your ductwork fast. Follow these steps:
Remove each register and wash it with warm, soapy water before reinstalling.
Vacuum inside the duct opening using a brush attachment to pull out settled debris.
Replace your air filter immediately—renovation dust destroys filtration capacity quickly.
Consider scheduling a professional duct cleaning if your renovation involved extensive drywall, concrete cutting, or insulation work.
Clear Adjacent Rooms and Hallways of Dust and Debris
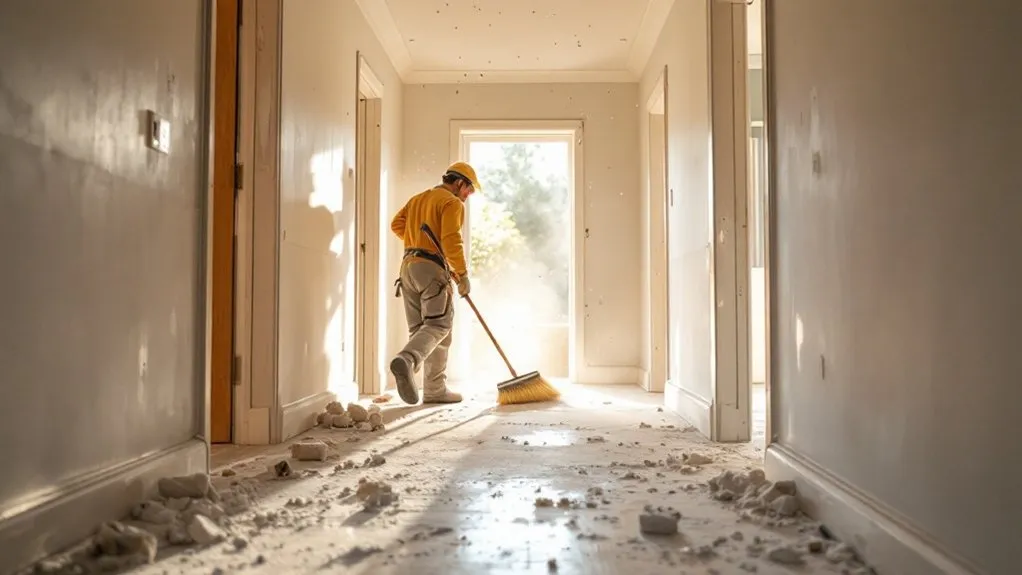
Dust doesn’t respect boundaries—it travels through doorways, settles in hallways, and coats surfaces in rooms nowhere near the work zone.
Start by dry-dusting walls, baseboards, and light fixtures in adjacent rooms before vacuuming floors. Work top-to-bottom so falling debris doesn’t re-contaminate cleaned surfaces.
In hallways, pay close attention to corners, door frames, and ceiling edges where fine particles accumulate. Use a microfiber mop on hard floors and a HEPA vacuum on carpets.
Wipe down doorknobs, switch plates, and railings—they collect dust constantly. Don’t overlook closets with open doors; they’re invisible traps for renovation debris.
Deep Clean Walls, Floors, and Countertops After Renovation
With adjacent rooms cleared, you’re ready to tackle the main event—scrubbing down walls, floors, and countertops in the renovation zone itself.
Construction leaves behind fine dust, adhesive residue, and grout haze that standard cleaning won’t remove. Work systematically from top to bottom.
Walls: Wipe with a damp microfiber cloth, then spot-treat paint splatters using a plastic scraper.
Floors: Vacuum thoroughly before wet-mopping to avoid scratching surfaces with trapped debris.
Countertops: Use a pH-neutral cleaner to dissolve grout haze and adhesive without damaging finishes.
Always let each surface dry completely before moving furniture back in.
Remove Grout Haze, Paint Drips, and Adhesive Residue
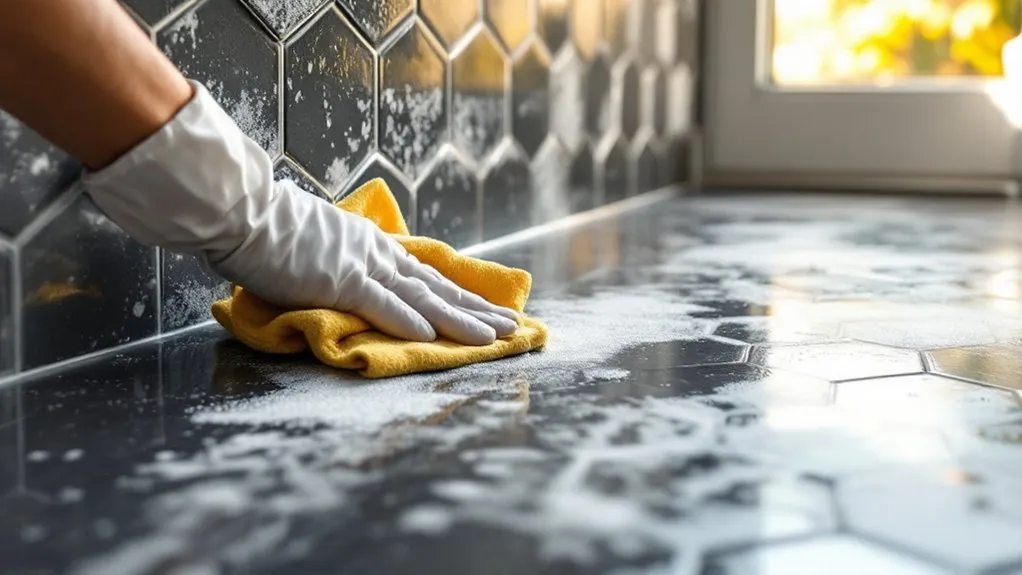
Tackling stubborn residues like grout haze, paint drips, and adhesive requires the right products and a little patience.
For grout haze, apply a commercial grout haze remover or diluted white vinegar, then scrub with a stiff brush.
Remove dried paint drips by gently scraping with a plastic putty knife, then wipe the area with a damp cloth.
For stubborn spots, use a paint remover suited to your surface type.
Dissolve adhesive residue with Goo Gone or rubbing alcohol, letting it soak for a few minutes before wiping.
Always test any product on a small, hidden area first.
Clean New Fixtures and Finishes Without Causing Damage
New fixtures and finishes look great right after installation, but they’re also at their most vulnerable.
Using the wrong cleaner now can scratch, dull, or permanently stain surfaces you just paid to install.
Hardware and faucets — Wipe with a damp microfiber cloth; avoid abrasive scrubbers that scratch plating.
Painted surfaces — Use mild dish soap and water; harsh chemicals strip fresh paint’s sheen.
Stone and tile — Skip vinegar or acidic cleaners; they etch unsealed surfaces permanently.
Always test any cleaner on a hidden spot before applying it broadly.
Sanitize Kitchens and Bathrooms After Renovation Work
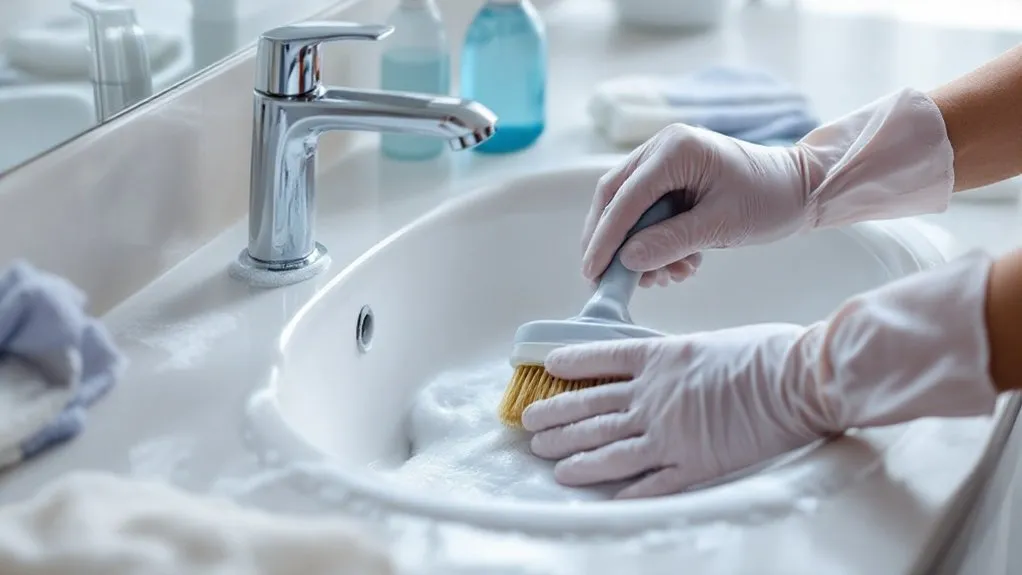
Kitchens and bathrooms need extra attention after renovation because workers move in and out constantly, leaving behind bacteria, dust, and chemical residue on surfaces you cook and bathe near.
Scrub grout lines using a stiff brush and hydrogen peroxide to eliminate construction bacteria. Flush drains with boiling water mixed with baking soda. Wipe inside cabinets before restocking food or toiletries. Don’t overlook ventilation fans — they’ve collected drywall dust that’ll circulate through your air if you ignore them.
Do a Final Walkthrough to Catch What You Missed
Once you’ve finished cleaning room by room, grab a flashlight and walk through every space with fresh eyes — you’ll almost always catch something you missed.
Shine the light along baseboards, corners, and ceiling edges where dust hides.
Check these commonly overlooked spots:
Light fixtures and ceiling fans — construction dust settles heavily on blades and glass covers.
Window tracks and sill edges — debris packs tightly into grooves during renovation work.
Cabinet tops and door frames — surfaces above eye level collect thick layers of fine particulate.
Address anything you find before calling the renovation cleanup complete.
Frequently Asked Questions
How Soon After Renovation Can Children Safely Return Home?
You’ll want to wait at least 72 hours after renovation work is complete before bringing children back home.
However, if painting or chemical treatments were involved, extend that to one week.
Make sure you’ve thoroughly ventilated all rooms, completed deep cleaning to remove dust and debris, and tested air quality if possible.
Children are more vulnerable to VOCs and fine particles, so don’t rush this important safety step.
Should I Hire Professionals or Clean the Renovation Myself?
Both options work, but it depends on the scope of your renovation.
If you’ve done major work involving drywall, lead paint, or asbestos, you should absolutely hire professionals since they’ve got the right equipment and expertise to handle hazardous materials safely.
However, if your renovation was minor, you can tackle the cleaning yourself using proper protective gear and HEPA-filter vacuums.
Either way, don’t rush the process—thorough cleaning protects your family’s health.
How Do I Dispose of Renovation Waste and Debris Legally?
Check with your local municipality first, as they’ll have specific rules for renovation waste disposal.
You can rent a dumpster for large debris, take materials to a designated landfill or recycling center, or schedule a bulk pickup with your waste provider.
Separate recyclables like drywall, metal, and wood whenever possible.
Never dump construction waste illegally—you’ll face heavy fines.
Some materials, like paint and chemicals, require special hazardous waste disposal.
Can Renovation Dust Permanently Damage My Furniture and Belongings?
Yes, renovation dust can permanently damage your belongings if you don’t act quickly.
Fine particles, especially drywall and silica dust, can scratch wood finishes, clog fabric fibers, and corrode electronics. They’ll settle deep into upholstery and carpets, causing long-term discoloration.
You should cover furniture before renovations begin and clean thoroughly afterward using microfiber cloths and HEPA vacuums.
Don’t let dust sit too long, as it becomes increasingly difficult to remove.
How Long Does a Full Post-Renovation Deep Clean Typically Take?
A full post-renovation deep clean typically takes 2 to 5 days, depending on your home’s size and the renovation’s scope.
You’ll spend the first day tackling heavy dust and debris, then dedicate subsequent days to detailed surface cleaning, air duct maintenance, and furniture restoration.
Don’t rush the process—you’ll miss hidden dust in corners and vents.
Larger homes or major renovations can easily stretch your timeline beyond a week.
Conclusion
You’ve put in the hard work of renovating your home, and now your deep clean is complete. Don’t skip any of these steps — each one protects your investment and makes your space truly livable. From improving air quality to nailing that final walkthrough, you’re setting yourself up for a fresh start. Stay thorough, use the right tools, and you’ll enjoy a spotless, healthy home that’s ready to shine.